Today is my day to share my design team projects for Gecko Galz. What comes to mind when you hear the phrase "Sea of Dreams"? Thoughts of beautiful fish sailing through the sea? Perhaps mermaids frolicking under the waves? July's theme for Gecko Galz Challenge was Sea of Dreams and I created some projects that were inspired by it.

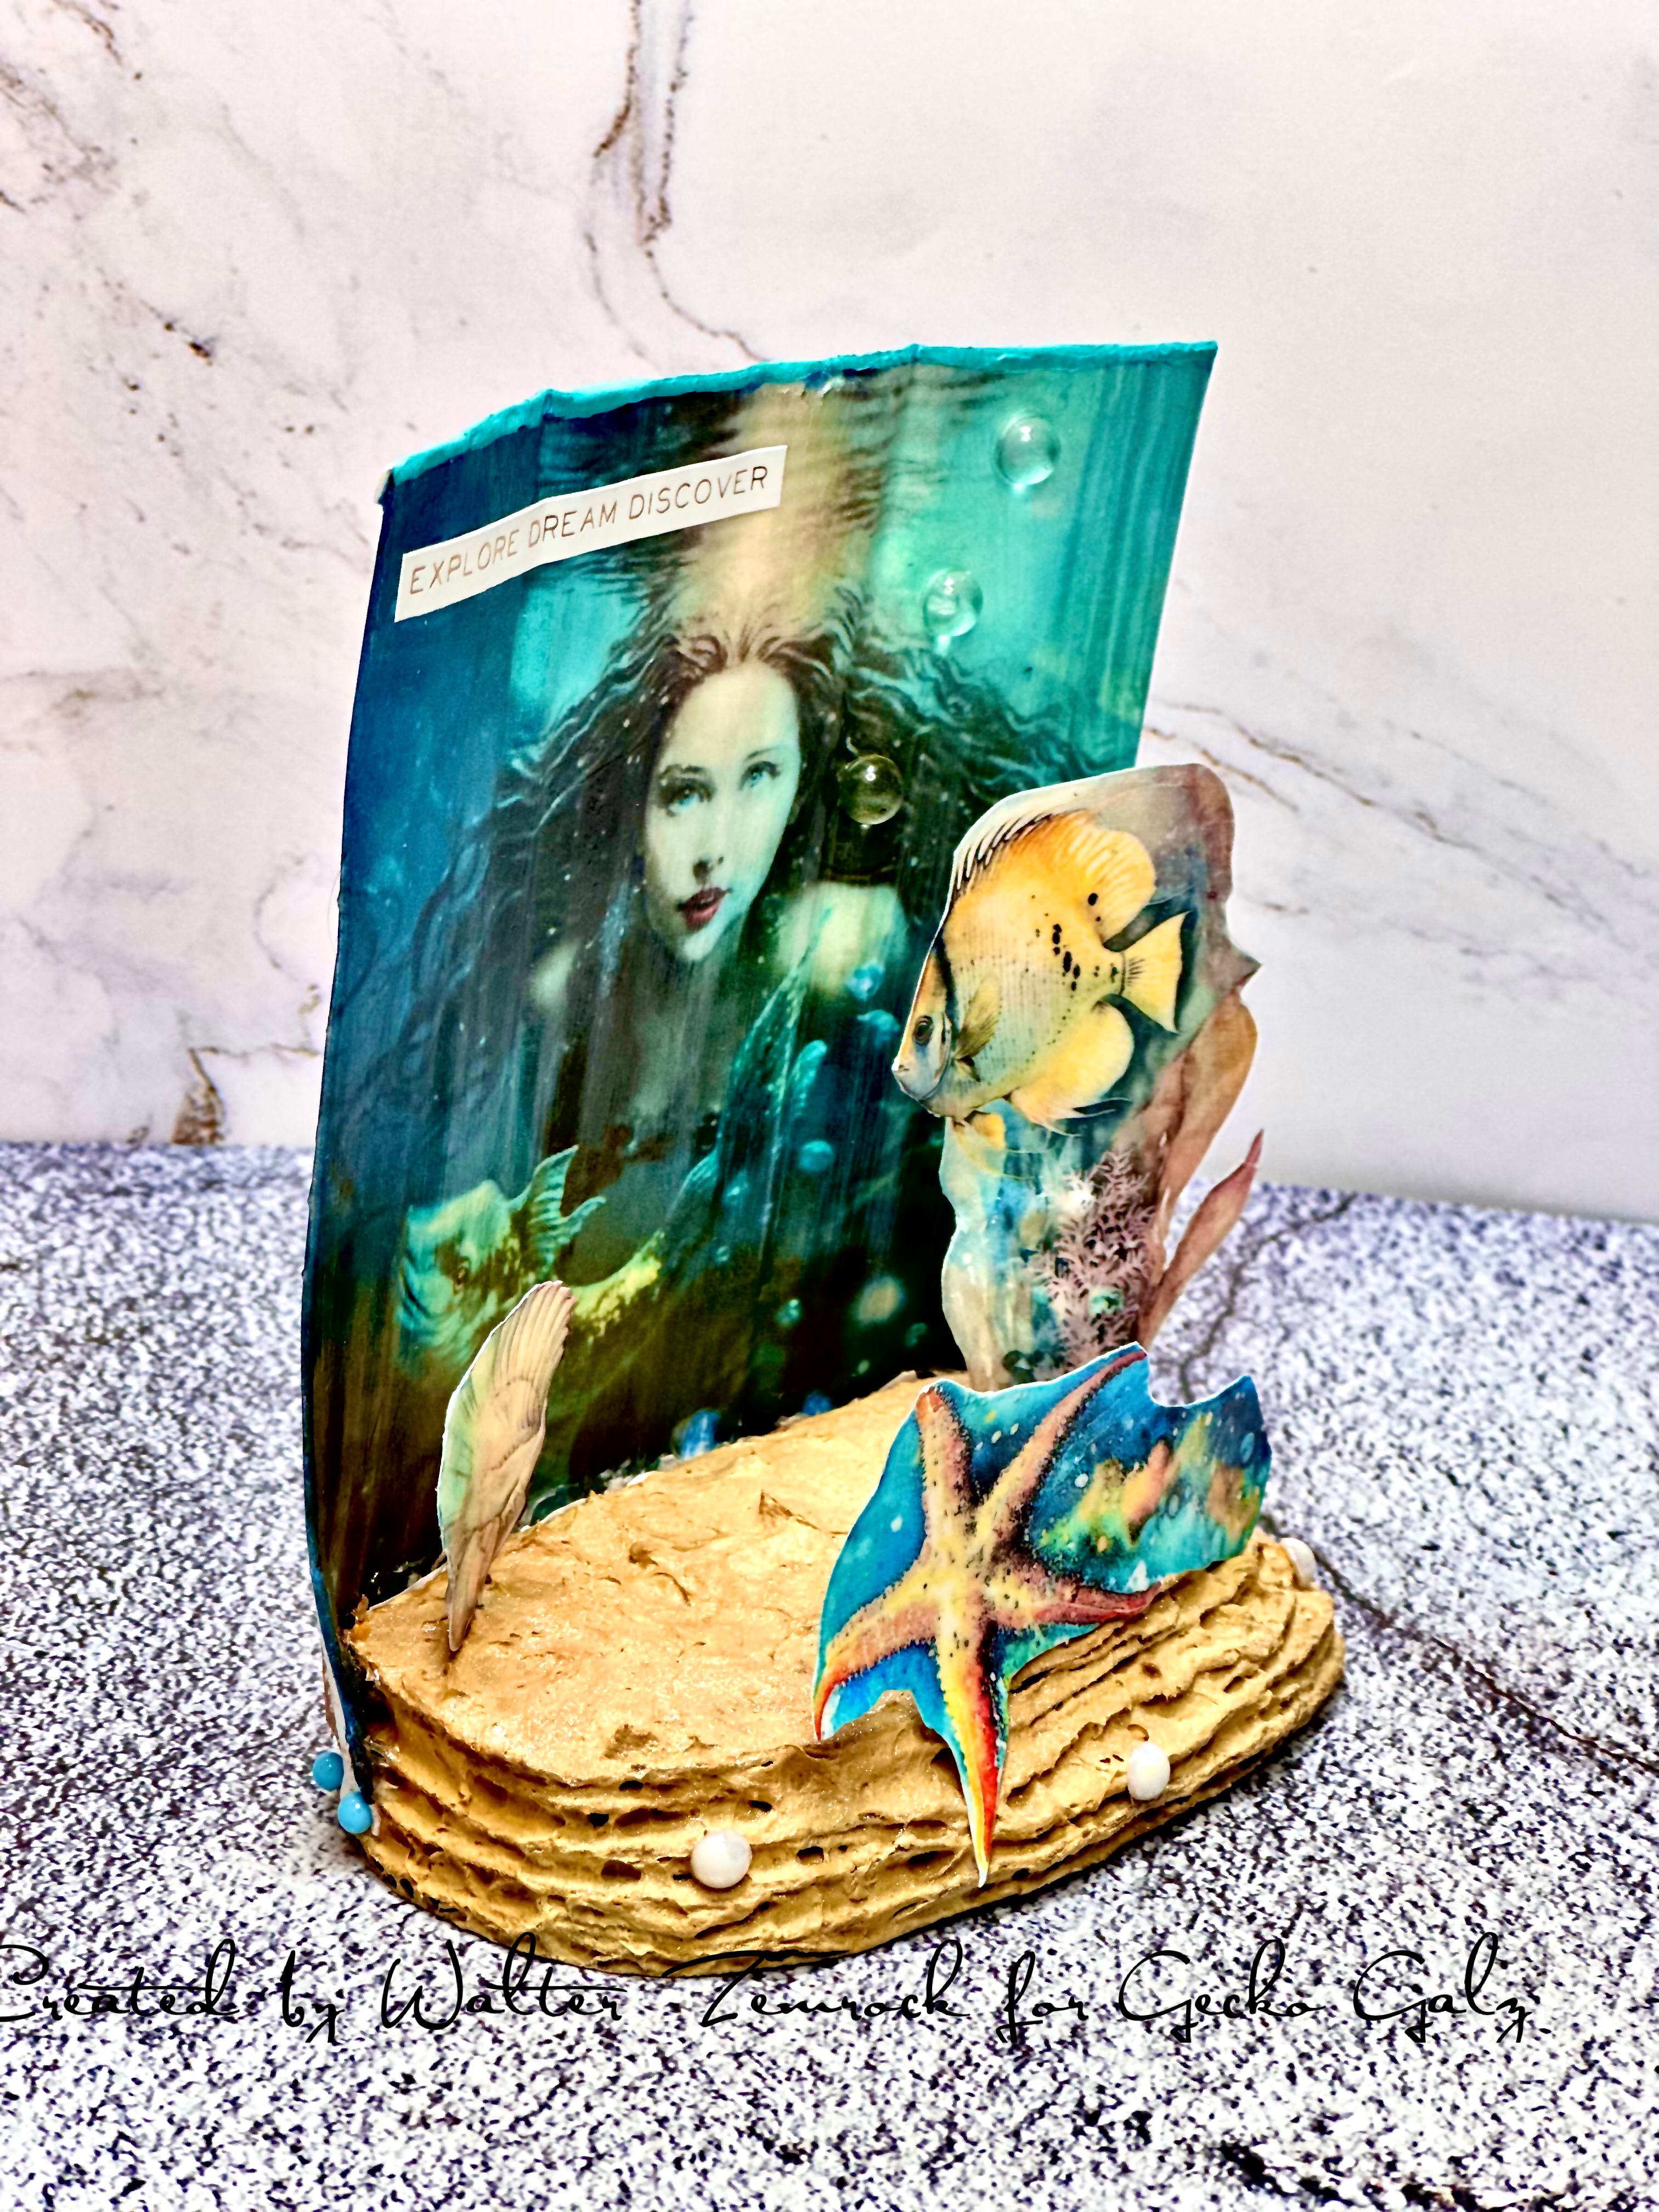
My first project is this underwater motif created with a cardboard base. I stacked several layers of cardboard, each layer slightly smaller than the previous one, to form the base. Each layer was glued with craft glue to the next. I then took some embossing paste mixed with some ochre ink and painted the base. I sized the Gecko Glaz background pic from the Oceans Blue set, printed it out, glued it to a piece of cardboard, and then applied some Prima Marketing 3D Gloss Gel to it. This medium helps create dimensional texture on the print. The print was attached to the back of the base with both glue and stick pins to ensure that it stays in place. I printed out some ephemera, also applied some 3D Gloss Gel to them, glued a stick pen on back, and pushed the pin into the base. I also put a dab of glue at the base to help secure the pin. Last step was adhering a sentiment and some pearl gems.

The next project is my favorite. I'm calling it a porthole card. I created the card base by taking my largest circle die and placing onto an A2 card base. I made sure that the top lip of the die was placed just over the fold of the card base before running it through my die cut machine. The result was a circular card base that flips up to open. I then made a circular frame out of white card stock using my largest circle die and the next one down to cut it out. I applied some Ranger Tim Holtz Grit Paste around the frame. Once dry, I sprayed it with some Tim Holtz Bronze Mica Spray, and then splattered it with some Brutus Monroe Peakcock Chroma Mist and Tim Holtz DDistress Rusty Hinge Spay to add some patina ageing to it. Next, I chose my image from the Oceans Blue set, sized it, and printed it out. I applied a coat of the 3D Gloss Gel and, once dry, cut out he image with my largest circle die. I also cut a piece of acetate using the same die. A sentiment was applied and then I put it together: background image was glued to the card base, the acetate was adhered using double sided foam tape strips, and the frame was also adhered with double sided foam tape strips. I am so happy with the result - it truly looks like an old rusting porthole window. And what a view when you look outside!

My third project is a fun A2 sized card. I sized the image from the Fish Camp set, printed it, and applied a coat of 3D Gloss Gel to it. I then sized the image of the swimmer from the Sweet Summer Days set, printed it, fussy cut the swimmer, and applied 3D Gloss Gel. I glued the swimmer to the underwater scene and attached that card panel to an A2 navy blue card base. I used an A2 frame die to cut a navy blue frame and attached it to the card with double sided foam tape strips. The last step was glue down the sentiment.

My final project is a very whimsical 5x7 card. I sized the image of the swim cap gal from the Sweet Summer Days set, printed it, and fussy cut it. Embossing paste was applied to a wooden square (I turned it to use it in a diamond shape) and then painted with Rainstorm metallic acrylic paint from Perfect Paints. The bubbles around the swimmer were made with a die and a medium shade of blue card stock. I glued the bubble cut out down to the wooden diamond and filled in the bubbles with X-Small Glass Bead Gel from Perfect Paints. I let this piece dry and then attached the swim cap gal with craft glue. This was attached to a piece of white card stock that I water-colored with ochre ink. The card panel was attached to an aqua card panel, and that panel attached to white 5x7 card base. I used a darker aqua acrylic marker to outline the image on the white card stock, adhered a witty sentiment, pearl gems, and clear acrylic bubbles. Such a fun card to share with someone who marches to her own tune!
I hope that you enjoyed learning more about these projects and the process to create them. Thanks for spending some time here with me today. Until next time . . . be well!

No comments:
Post a Comment