Happy Holidays, friends!
As the old song goes, “it’s the most wonderful time of the year!” Making Christmas cards, creating Christmas ornaments, and any other type of holiday crafting is the creative time that I enjoy the most. I think that’s because of all the wonderful holiday memories with my family. I often think of those memories as I sit and create. Just add some Christmas tunes and I am in my zen!
Today’s share is a double feature using the same stamp - a nostalgic vintage Samta Clause. I wanted to make a traditional card and also something that could be both a decoration and a card . . . so I made both!
Project 1
My first creation was this traditional Christmas card featuring the vintage Santa framed by colorful rows of stamped Christmas trees. There is a lot of dimension in this card, and I love the vintage look and feel of it.
Here’s what I used to make it:
- Vintage Santa holding toys Holiday Art Rubber Stamp
- Beyond the Border Christmas Set 1 CLEAR Stamps designed by Pam Bray
- Christmas word stamp from the Steampunk'd Christmas Holiday Red Rubber Art Stamp Sheet
- Spellbinders Nesting Diamond Dies
- Dark red, dark green, and cream card stock
- Tim Holtz Distress Antique Linen Spray Stain
- Concord & 9th Cranberry and Wheat Premium Dye Inks
- Altenew Evergreen Crisp Dye Ink
- Stamp alternating Cranberry and Evergreen rows of Christmas trees onto a 4”x6” cream card panel
- Use a diamond shaped die and cut a diamond in the middle of the card panel
- On a 4”x6” green card panel, take a nested diamond die that is two sizes smaller than the one just used in step above and cut a diamond in the middle of the panel
- Put a 4”x6” cream card panel behind the green card panel and stamp the vintage Santa image in cranberry onto the cream card panel
- Adhere green card panel to panel with stamped Santa image with double sided foam tape
- Adhere panel with stamped Christmas trees to green panel with double sided foam tape
- Adhere completed card panel to 5”x7” red card base; may use double sided foam tape or double sided tape, depending on how much dimension you would like
- Stamp the word Christmas onto scrap piece of cream card stock with Wheat ink; cut out the word in a rectangle shape; lightly spray with Antique Linen spray stain; adhere to card with double sided tape
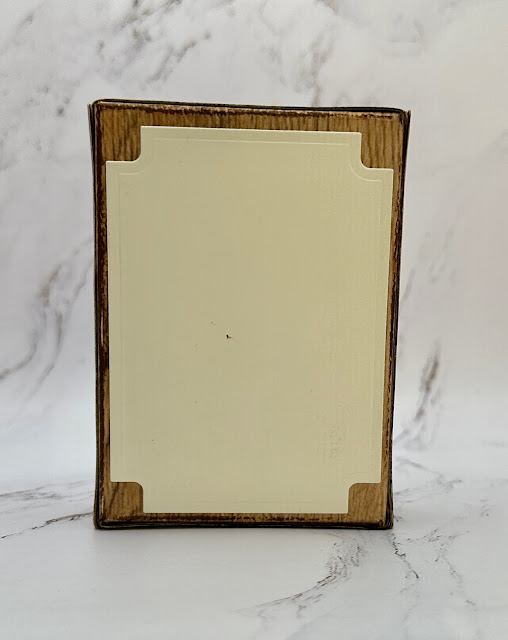
Project 2
- Vintage Santa holding toys Holiday Art Rubber Stamp
- Sizzix Thinlits Curio Box Bigz Die by Tim Holtz
- Carta Bella Wood Grain Paper
- Recollections Holiday Paper
- Chipboard - 1 8.5”x11” piece
- Cream card stock
- Gold card stock
- Concord & 9th Cranberry Premium Dye Ink
- Tim Holtz Distress Inks: Antique Linen & Vintage Photo


