Happy weekend, friends!
Today’s Paper Play post is on the topic of die cutting. I just finished my 9th AECP Level 1 course, Easy Die Cutting Techniques, which went over several different ways that you may use your dies aside from traditional die cutting. Like many of you, die cutting was my introduction to card making and paper craft. I was so excited when I bought my first Sizzix Big Shot, and worried that I did something wrong when I ran through my first dies and heard the plates crackle! I’ve since grown to love that sound, and have gained many skills since making my first card. I now have even more techniques to employ thanks to this course.
I focused on three techniques in the two cards below - traditional die cutting, using dies as stencils, and inlaid die cutting.
Card 1
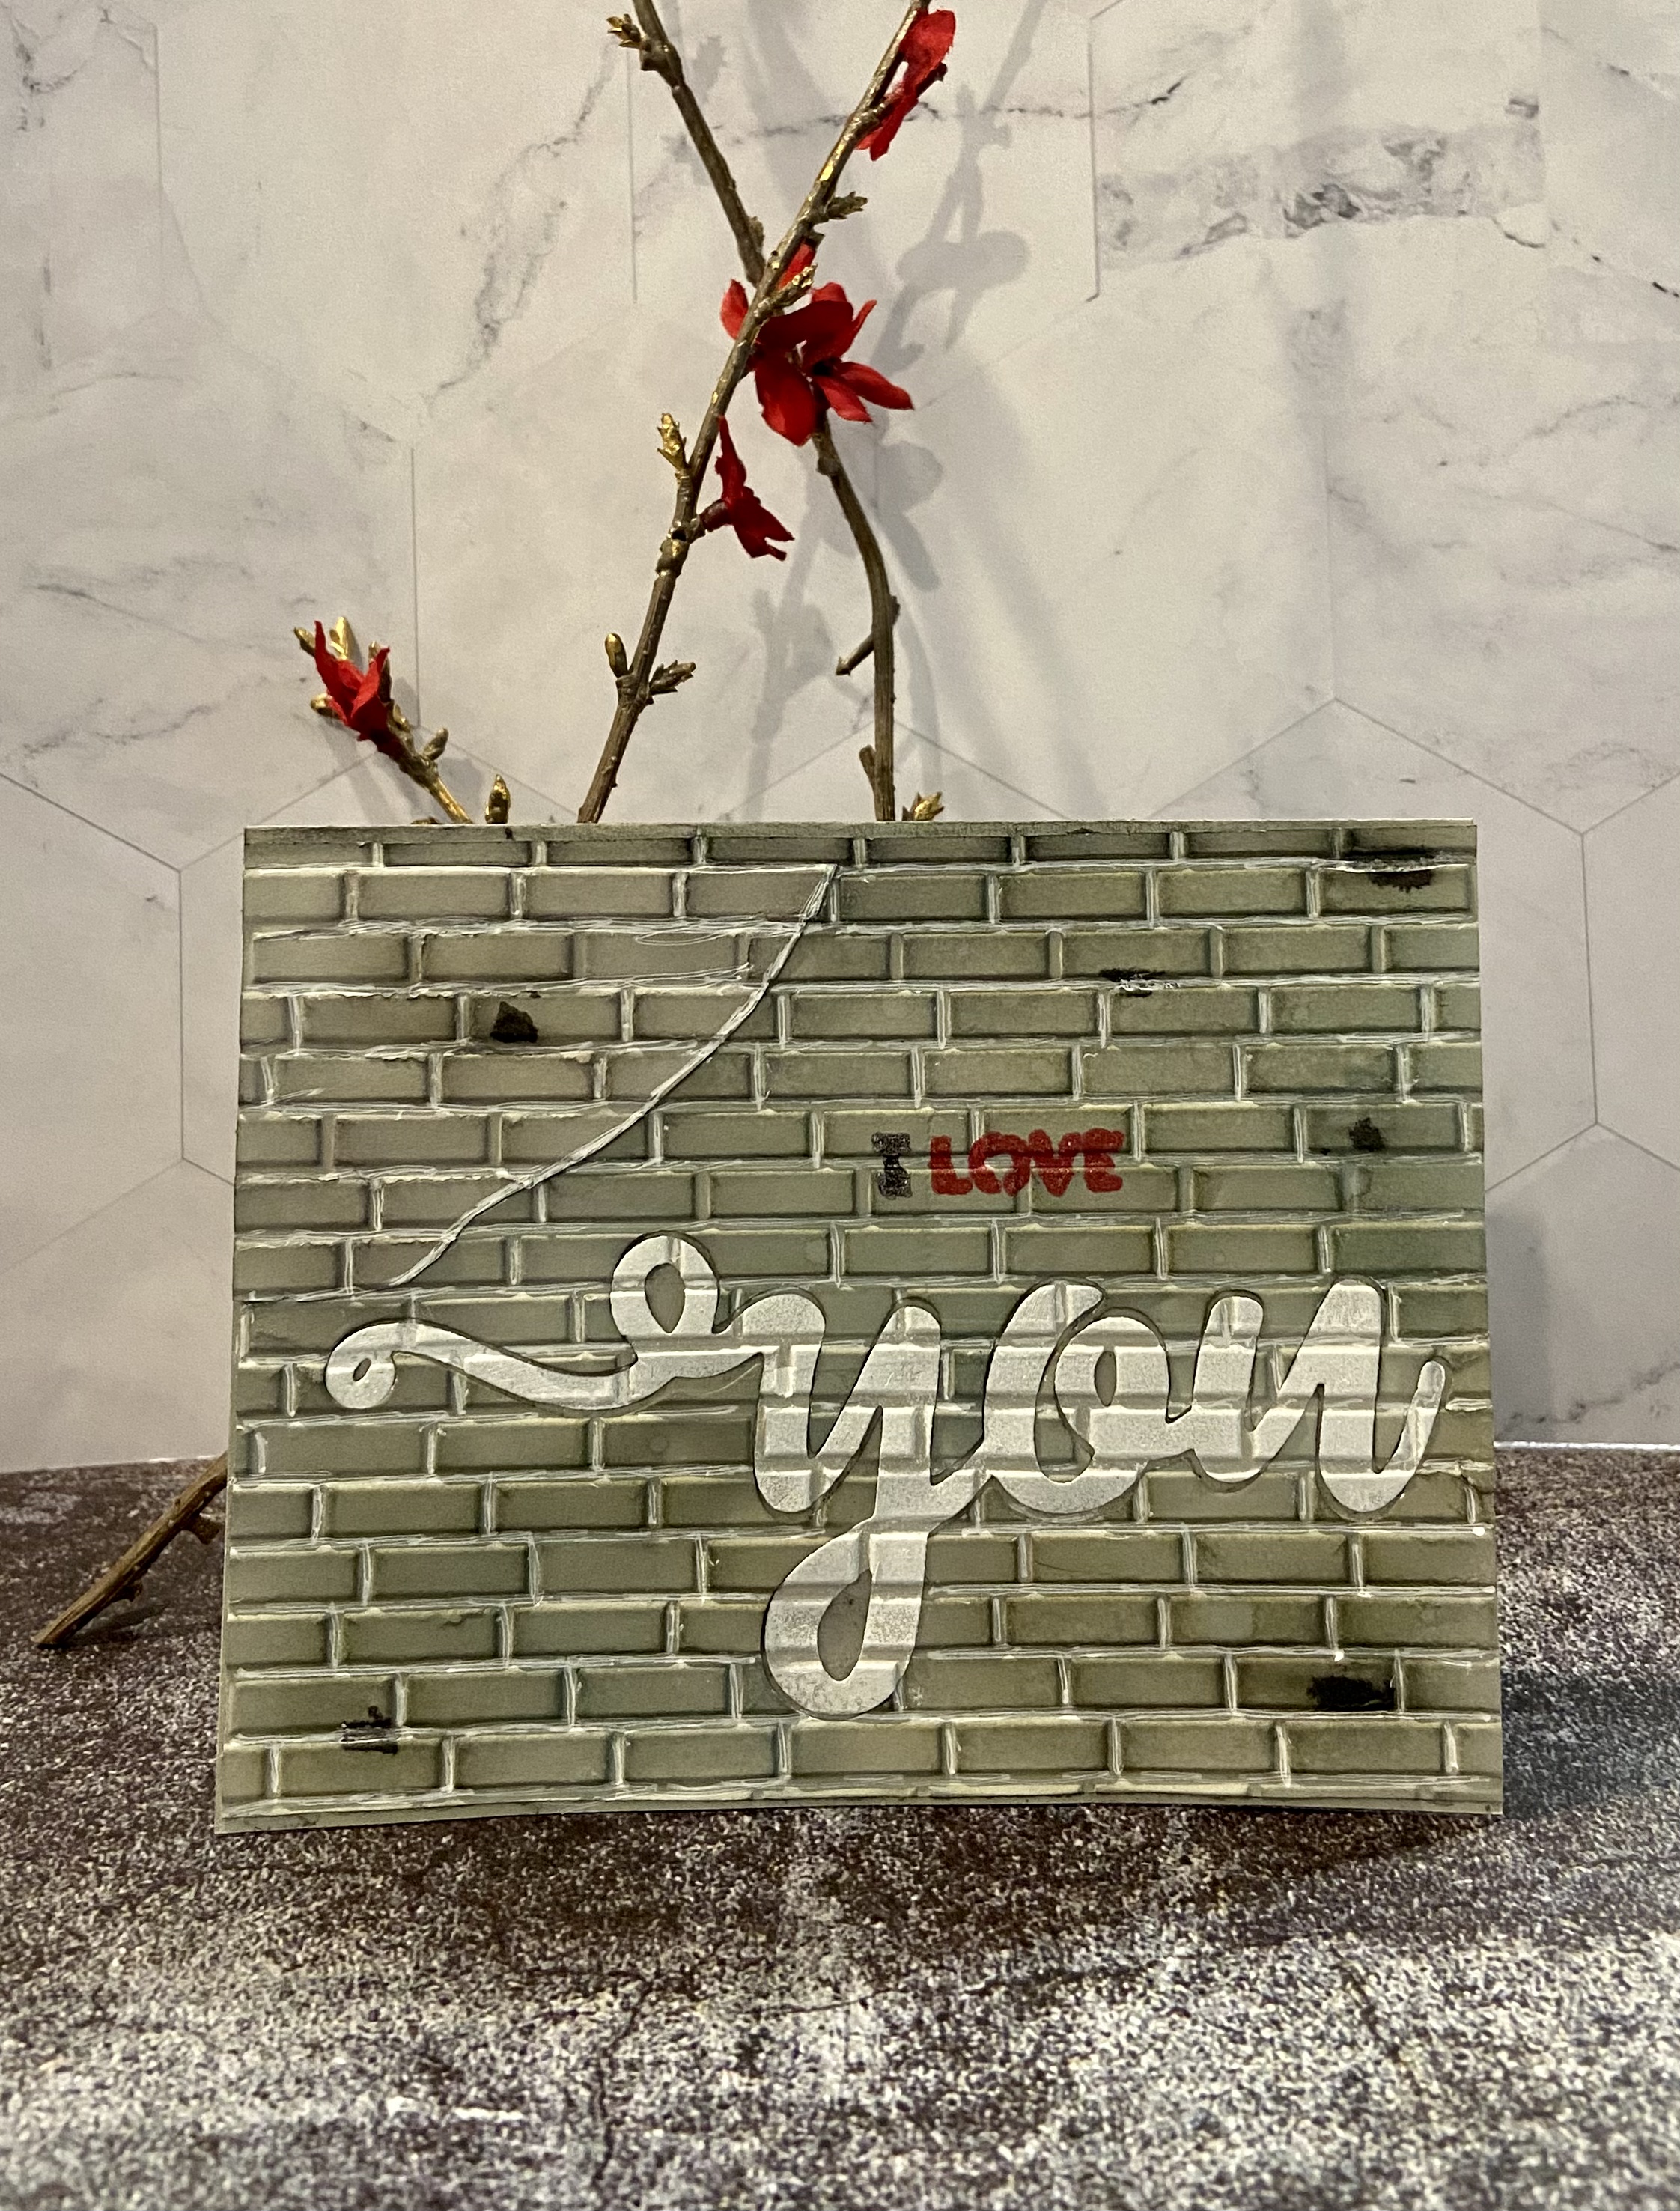
My first card was inspired by graffiti art. The idea came to me as I was watching the lesson on inlaid die cutting. I thought it would be fun to create a card that looked like a wall and used an inlaid piece to be the focal point of the graffiti. The following items were used in making it: Altenew Brick Wall Geometric 3D Embossing Folder, Altenew You Matter Die Set, gray card stock, Concord & 9th Dove Premium Dye Ink, the following Tim Holtz Distress Inks: Weathered Wood, Hickory Smoke, and Antique Linen, Lawn Fawn Yeti White Pigment Ink, Altenew Jet Black Ink Spray, Sakura Gelly Roll White Gel Pen, black and red glitter gel pens, double sided tape, craft glue, and a water mister.
- Die cut the word “you” from an A2 sized piece of gray card stock
- Aligned the card stock in the embossing folder and put the die cut “you” back into place
- Misted the card stock with water (to prevent the paper from cracking), closed the embossing folder, and ran it through my die cutting machine
- Put a torn scrap piece of gray card stock into the embossing folder and ran it through my die cutting machine
- Inked the embossed word “you” with the white pigment ink and used my heat tool to help set and dry the ink
- Adhered the wall to an A2 sized gray card base with double sided tape
- Applied layers of gray, Weathered Wood, Hickory Smoke, and Antique Linen inks to the rest of the wall to give it a grungy look
- Put some craft glue on the embossed scrap piece and adhered it to the upper left corner of the wall in order to make it look like that part of the wall had been replaced or worked on
- Applied inks to the new section of wall
- Lightly misted the wall with water and let it dry to give it a more textured look
- Ran the white gel pen through the grooved lines and edge of the reworked wall section to give the appearance of mortar
- Used the jet black spray ink to add a few drops of black in random places
- Put some craft glue on the back of the embossed “you” and laid it in place on the wall
- Created a stencil by running the “I Love” die through my die cutting machine with a small piece of white card stock, used some Post It Tape to hold it in place, and stenciled it onto the wall using black and red alcohol markers
- Traced over the words with black and red glitter gel pens


Card 2

- Cut my flowers by running the flower dies through my die cutting machine with the three pieces of blue card stock, assembled them using craft glue, put a blue gem in the center of each, and added some detail to them using a light blue gel pen
- Created my branch stencil by running the branch die through my die cutting machine with a piece of chip board
- Stenciled one branch onto an A2 sized piece of vellum with the Walnut Stain ink and the other using the Wheat Ink
- Adhered the vellum to an A2 sized cream card base with double sided tape (I used double sided tape because I knew that my frame would cover it and you wouldn’t see it through the vellum)
- Added some light texture to the branches with a white gel pen
- Decided where to place my flowers and glued them onto the vellum with craft glue
- Die cut the frame by running it through my die cut machine with a piece of white cardstock
- Put the frame onto a piece of cardboard an misted it with the mica spray
- Once dry, I dabbed a little Salvaged Patina ink on the frame to create an aged look
- Adhered the frame to the card using double sided foam tape
- Stamped the sentiment onto a piece of scrap paper, cut it to size, and glued it to the card


Walter, amazing techniques and stunning cards...♥
ReplyDeleteThanks very much, my friend!
DeleteDUDE!! like whaaaaaaaattttt!!!! *blown away*
ReplyDelete